Armwrestling for Beginners: 7 Steps to Start Right and Stay Injury-Free
If you have searched for how to learn armwrestling, you have probably asked yourself: “Where do I start so I get strong without getting hurt?” The good news is that armwrestling is not just arm strength; it is a mix of technique, angle, joint strength and timing, and with the right path anyone can see clear progress within a few months. In this guide we walk through the starting path step by step, from zero.
What does armwrestling actually test?
In a professional match the winner is not simply the one with the bigger arm. The winner is the one who changes the angle and leverage in their favor first. Three muscle groups play the main roles:
- Forearm and wrist: controlling the grip and stopping the wrist from “opening”
- Biceps and forearm rotators: rotating and pulling the opponent’s hand
- Back, shoulder and chest: transferring the power of the whole body into the hand
Step 1: Warm-up and tendon preparation
The tendons of the wrist and elbow adapt more slowly than muscle, and most injuries start there. Warm up for at least 8 to 10 minutes before every session:
- 2 minutes of circular movements for the wrist, elbow and shoulder
- 2 light sets with a resistance band for the wrist and biceps (15 reps)
- 1 to 2 light sets of the day’s main movement at 50% of the working weight
Step 2: Body position and foot placement
Your body is the base of your strength, not just your hand. Take these points seriously from day one:
- Place the opposite foot slightly forward and bring your body close to the table
- Keep your shoulder low and close to the hand; a raised shoulder means lost leverage
- Hold the peg firmly with your free hand
- Keep your elbow planted on the pad and stop it from sliding
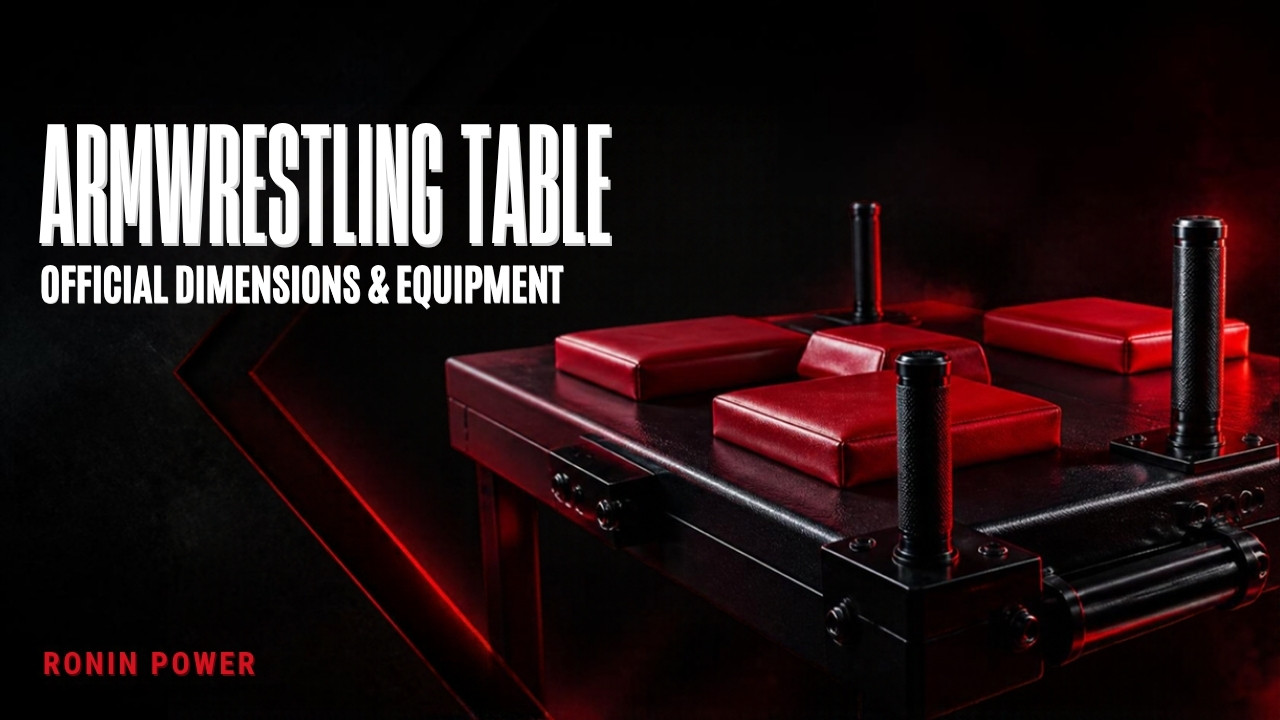
You can see the standard table and elbow pad sizes in our standard armwrestling table guide.
Step 3: The grip
A proper grip means the “web” between your thumb and palm dominates your opponent’s hand, not just your fingers. A few simple principles:
- Press the palms tightly together with no gap between the thumb webs
- Wrap your fingers around the opponent’s hand and keep the wrist slightly bent toward you
- The start is on the referee’s command; moving early counts as a foul
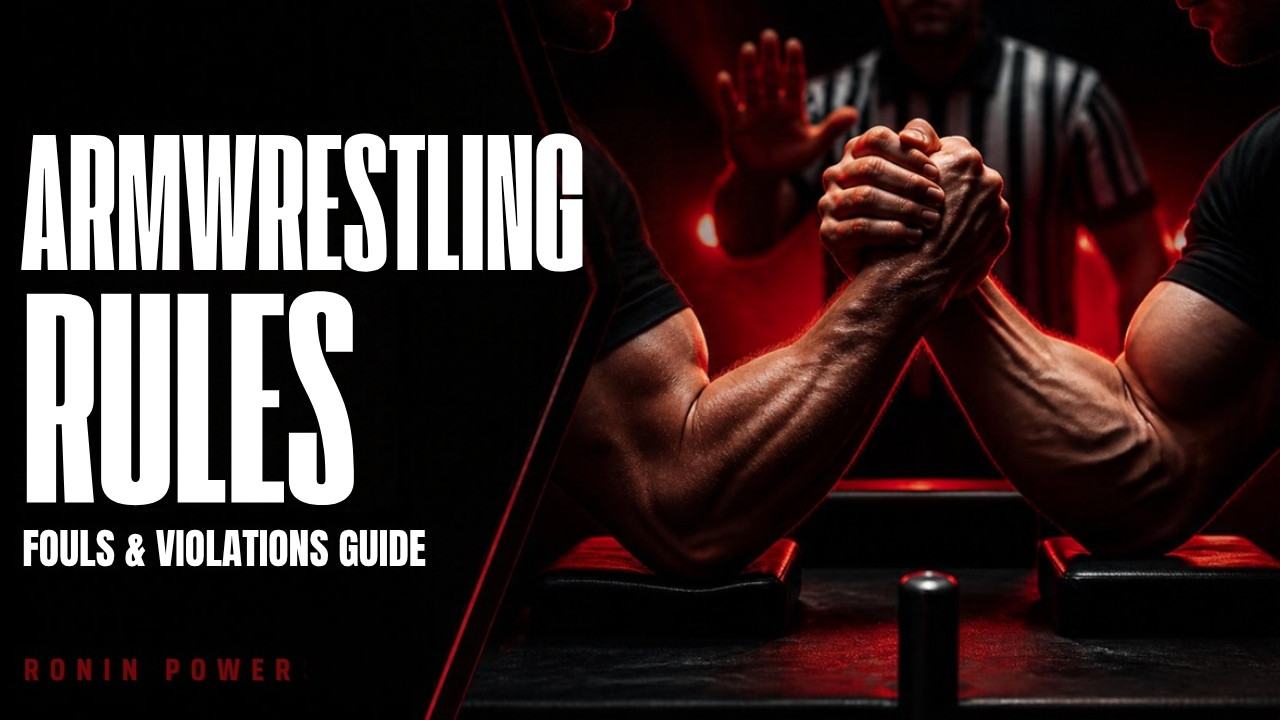
Read the exact definition of fouls in the armwrestling rules guide so you are not caught off guard in a match.
Step 4: The three main techniques
| Technique | Main idea | Best for |
|---|---|---|
| Top roll | Pull the opponent’s hand back and up with a wrist and finger rotation | People with strong forearms and fingers |
| Hook | Pull the opponent’s hand inward with biceps strength and a wrist twist | People with strong biceps and grip |
| Press | Press the opponent’s hand down using the shoulder, chest and body | People with strong bodies and shoulders |
Beginners should try all three techniques in soft, low-pressure practice before specializing.
Step 5: Basic strengthening exercises
| Exercise | Target muscle | Suggested sets × reps |
|---|---|---|
| Dumbbell wrist curl | Wrist flexors | 3 × 12 to 15 |
| Reverse wrist curl (back of hand up) | Wrist extensors | 3 × 15 |
| Hammer curl | Biceps and forearm | 3 × 10 to 12 |
| Cable side pressure | Forearm rotators and shoulder | 4 × 8 to 10 |
| Rowing or lat pulldown | Back | 3 × 8 to 10 |
| Hand gripper squeeze | Fingers and palm | 3 × 20 to 30 second holds |
Step 6: A sample weekly plan for beginners
- Saturday: wrist and forearm work + biceps
- Monday: back and shoulders + light table practice (no pressure)
- Wednesday: side pressure and specific moves with a band or cable
- Friday: friendly arm wrestling with a similar-weight partner + gentle stretching
Two to three sessions a week are enough to start. Leave at least 48 hours of rest between two heavy sessions on the same area.
Step 7: Recovery, nutrition and injury prevention
Armwrestling puts heavy twisting stress on the upper arm bone, and in rare cases spiral fractures of the humerus have been reported in intense matches. To lower the risk:
- Never start with a sudden, jerky movement; build pressure gradually
- Avoid intense matches against a much stronger opponent in your first months
- If you feel sharp pain in the elbow or arm, release immediately
- Take 7 to 8 hours of sleep and enough protein seriously
Common beginner mistakes
- Training only the arm and ignoring the back and shoulder
- Skipping the warm-up and starting straight with heavy weight
- Too many matches against stronger opponents without technique
- Copying professionals’ videos without considering your own body structure
- Ignoring elbow and wrist pain
How long until I improve?
Realistic expectations are the most important part of learning. Within roughly 2 to 4 weeks, most beginners see better control of movement and body position; that is neural adaptation. Between 6 and 8 weeks you will see a clear change in real strength, but tendons need months. That gap between “muscle gets strong” and “tendon gets ready” is the cause of most injuries. So do not be discouraged if you do not get match results in the first month. Work on form and build the base.
What equipment do I need to start?
- Resistance bands: the cheapest and most important tool; buy several resistance levels.
- Hand gripper: for palm and finger strength, especially for training at home.
- Light dumbbells: for pronation, supination and controlled wrist work.
- Towel and grip hangers: for finger training and varied grips.
- An armwrestling table (later): once your base strength is built, train on a standard table with a training partner.
Age, weight and body history: can I start?
Armwrestling is not limited to any particular weight or age; there are different weight classes and competitors of all ages. The key point is that the older you are, or the more history of wrist, elbow or shoulder injury you have, the slower you should start, and you should consult a doctor or physiotherapist before harder training. Anyone with a heart condition or high blood pressure should avoid long holds and breath-holding.
FAQ about learning armwrestling
How long does it take to see progress?
With regular training of 2 to 3 sessions a week, you usually feel clear progress in grip and angle control after 8 to 12 weeks. Tendons strengthen more slowly than muscle, so patience matters.
Is armwrestling dangerous for beginners?
If you warm up, use correct technique and increase pressure gradually, the risk is low. The main danger is starting without technique and arm wrestling hard against a stronger opponent.
Can I train without a gym?
Yes. Resistance bands, light dumbbells and a sturdy table are enough to start. For beginners, correct form matters more than heavy weight.
Should I get a custom training program?
Yes. Strength level, armwrestling style and injury history differ for everyone, and a custom program keeps you from wasting time on ineffective movements. See the options on our training plan page, or get the price list from the button below the article.
Summary
Starting armwrestling the right way means: warm up, correct body position, a clean grip, balanced forearm and back training, and patience for your tendons. Move through these seven steps one at a time and, above all, protect the health of your elbow and wrist joints; real strength is built on a healthy body.
🔥 Ready to multiply your strength?
Armwrestling programs and services: price list
Hello 👋 If you need a training program or any other Ronin Power service, see the details below (prices in thousand Toman):
About the 8-week Complete Armwrestling Pack
The complete pack is a training program (effectively two one-month programs) written around your genetics and your left and right arm. Every movement comes with videos from our own channel, where we teach them all. Whether you train at the gym or at home, you can even do it with a towel and a resistance band.
An armwrestling-specific meal plan is included too. Follow it for 60 days and you will build at least 2 to 5 kg of muscle and tendon strength, with no need for supplements or steroids.
Throughout the course you get full support, tips and technique coaching, seven days a week.
WhatsApp: 0901 702 3112
Was this post helpful to you?